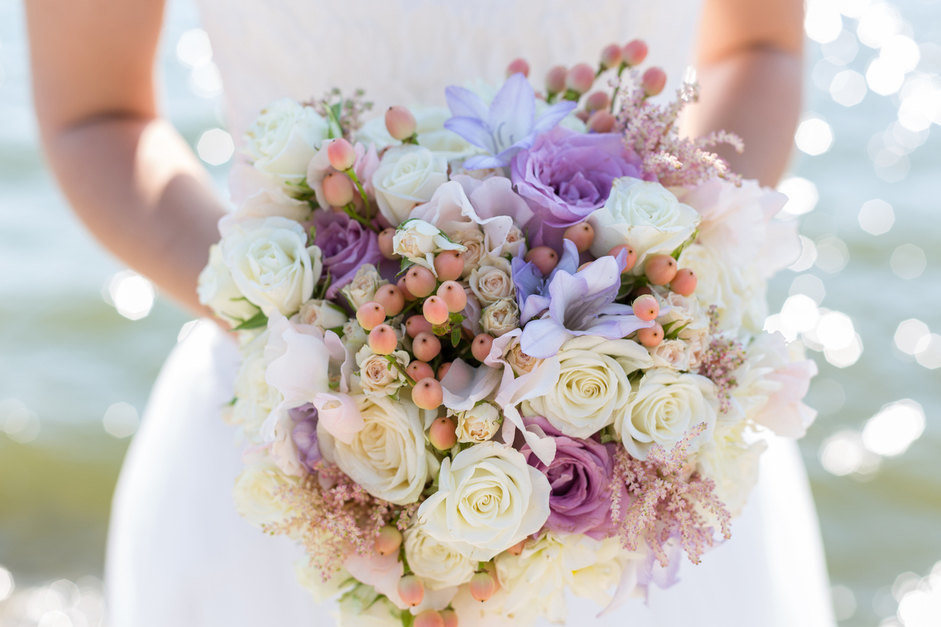
Artificial flowers used to be the poor relation of fresh blooms and were the second or third choice for many brides. Not anymore, artificial and silk flowers are now often as beautiful as fresh with the added bonus of creating a permeant memento of your day. They are also one element of your day that you can go completely DIY with. All it takes is a little time, research, and hot glue to create a gorgeous bouquet your guests will swoon over. Ready to take the plunge with an artificial bridal bouquet? Read on for everything you need to create a gorgeous floral arrangement.
Choose your stems
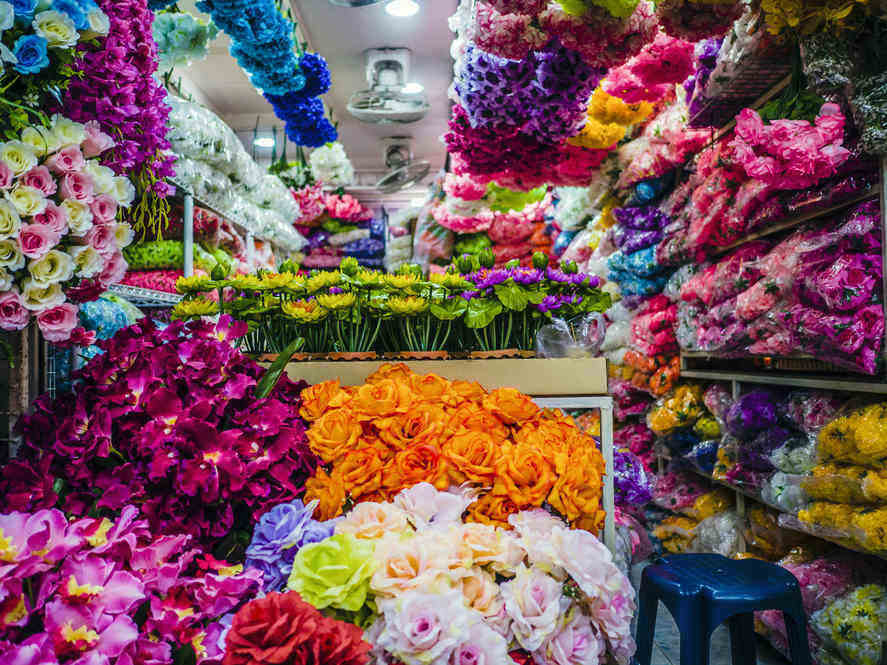
First of all, you need to hit your online or real life craft store to decide which blooms you want to incorporate into your arrangement. Less definitely equals more here with 4 or 5 types of stem providing all the interest you need in your bouquet. You should try and tie colours and flower types to your theme, so if you are having an English garden wedding, woodland or cottage flowers will be appropriate. It’s important to remember that not all of your choices should be flowers, you will need background notes from grasses and greenery. Choose flowers that scale together well (look for similar lengths) and choose complementary textures. If you can choose in person this will help you to visualise the bouquet as one and try out different stems against each other.
Gather your equipment
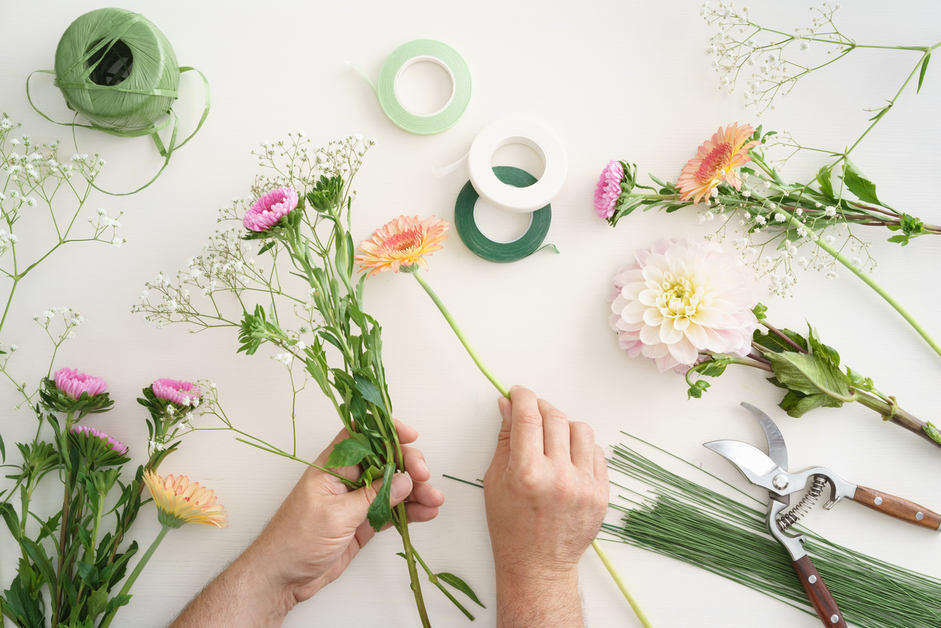
Flowers chosen, it’s time to get serious and lay out your toolkit. Try and have this in place ahead of time and give yourself plenty of time before the day to organise and create your bouquet. The great thing about arranging artificial flowers is you can do this months in advance of your wedding. A good base kit is outlined below:
- Flower Wire
- Flower Tape
- Wire Cutters
- Glue Gun
- Twine or Ribbon (to act as the visible binding for your bouquet)
- Scissors
- Stanley Knife
Prepare stems
Use the stanley knife and scissors to trim off excess leaves and cut the stem to the desired length. Leave a few leaves around the flower for blooms and more leaves as appropriate for greenery. Then take a length of flower wire and wrap around the length of the stem, securing and covering with green flower tape. You will be left with sturdy lengths of flower and greenery ready to be arranged!
Create your bouquet
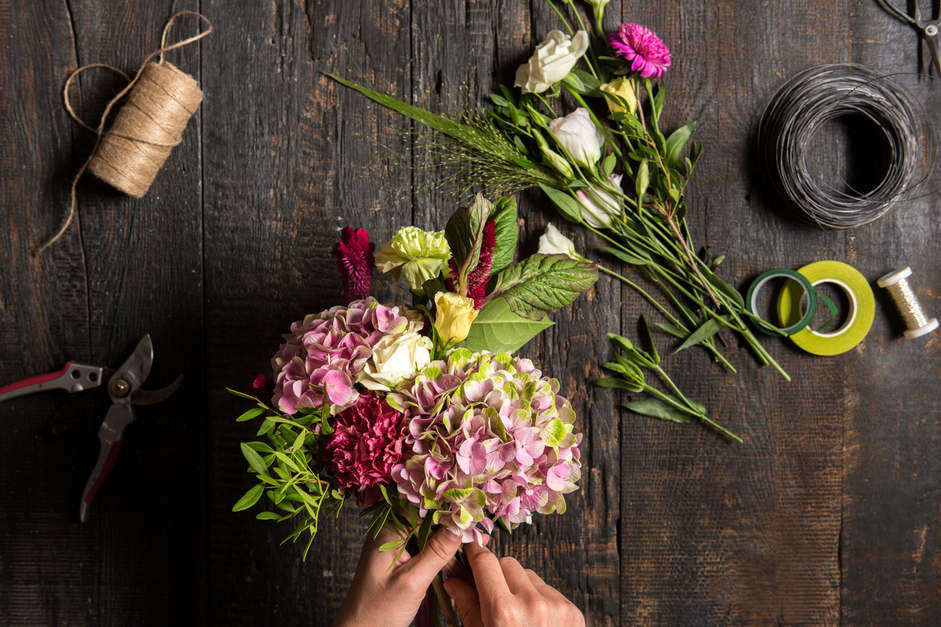
Now for the fun part! It’s time to take your carefully prepared stems and start to form them into a bouquet. Choose 3 or 4 central stems to form the focal point of your arrangement and slowly add stems to the outside, turning your bouquet as you add extra pieces to create a balanced display. Take your time until you have a display you are completely happy with, then wrap floral tape around the stems, securing them in place. Start from a couple of inches below the blooms and wrap tightly for 2/3 of the length. Trim off any longer stems at this stage.
Add finishing touches
Use the glue gun and dab a little to the end of your chose ribbon or twine and a little more to the tape holding your bouquet together. Then wrap your decorative binding around the taped area to give a professional and polished finish. Finally add a broach, gemstones or any extras to make your bouquet really sparkle!
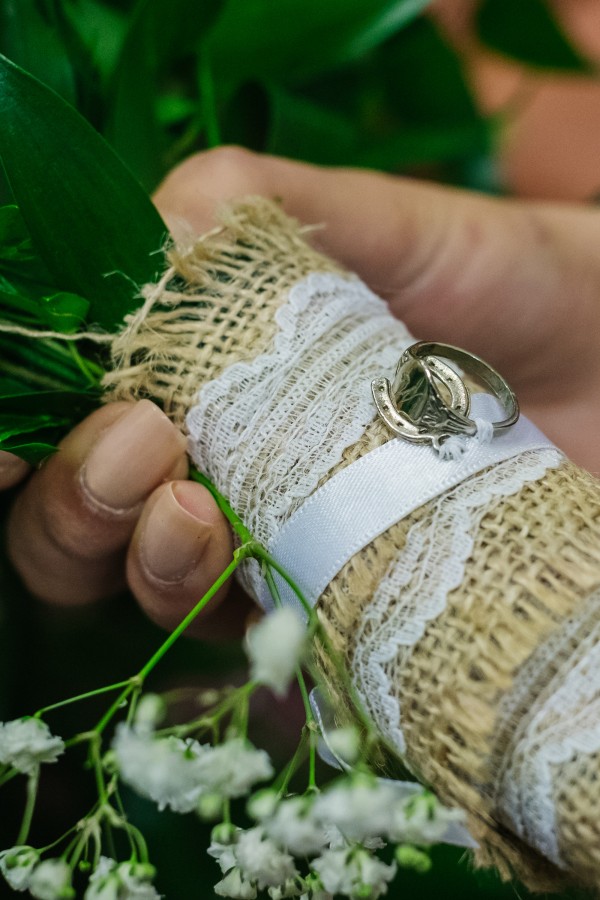
There you have it, your own beautiful artificial bridal bouquet! You can use your new found crafty technique to create boutonnieres, centre pieces or any other floral arrangements for your wedding day! If this all seems too hard or you can’t go past the allure of real flowers, find the perfect florist here.
